Splitting a check means dividing the payment owed between multiple options - this can be between guests, or payment types, and can be done at any point during service. See also Splitting a Check.
It is assumed that you have already opened the restaurant Check screen, with at least one check for the table (if not please see How To Open a Check or Create or Open a Check for more details).
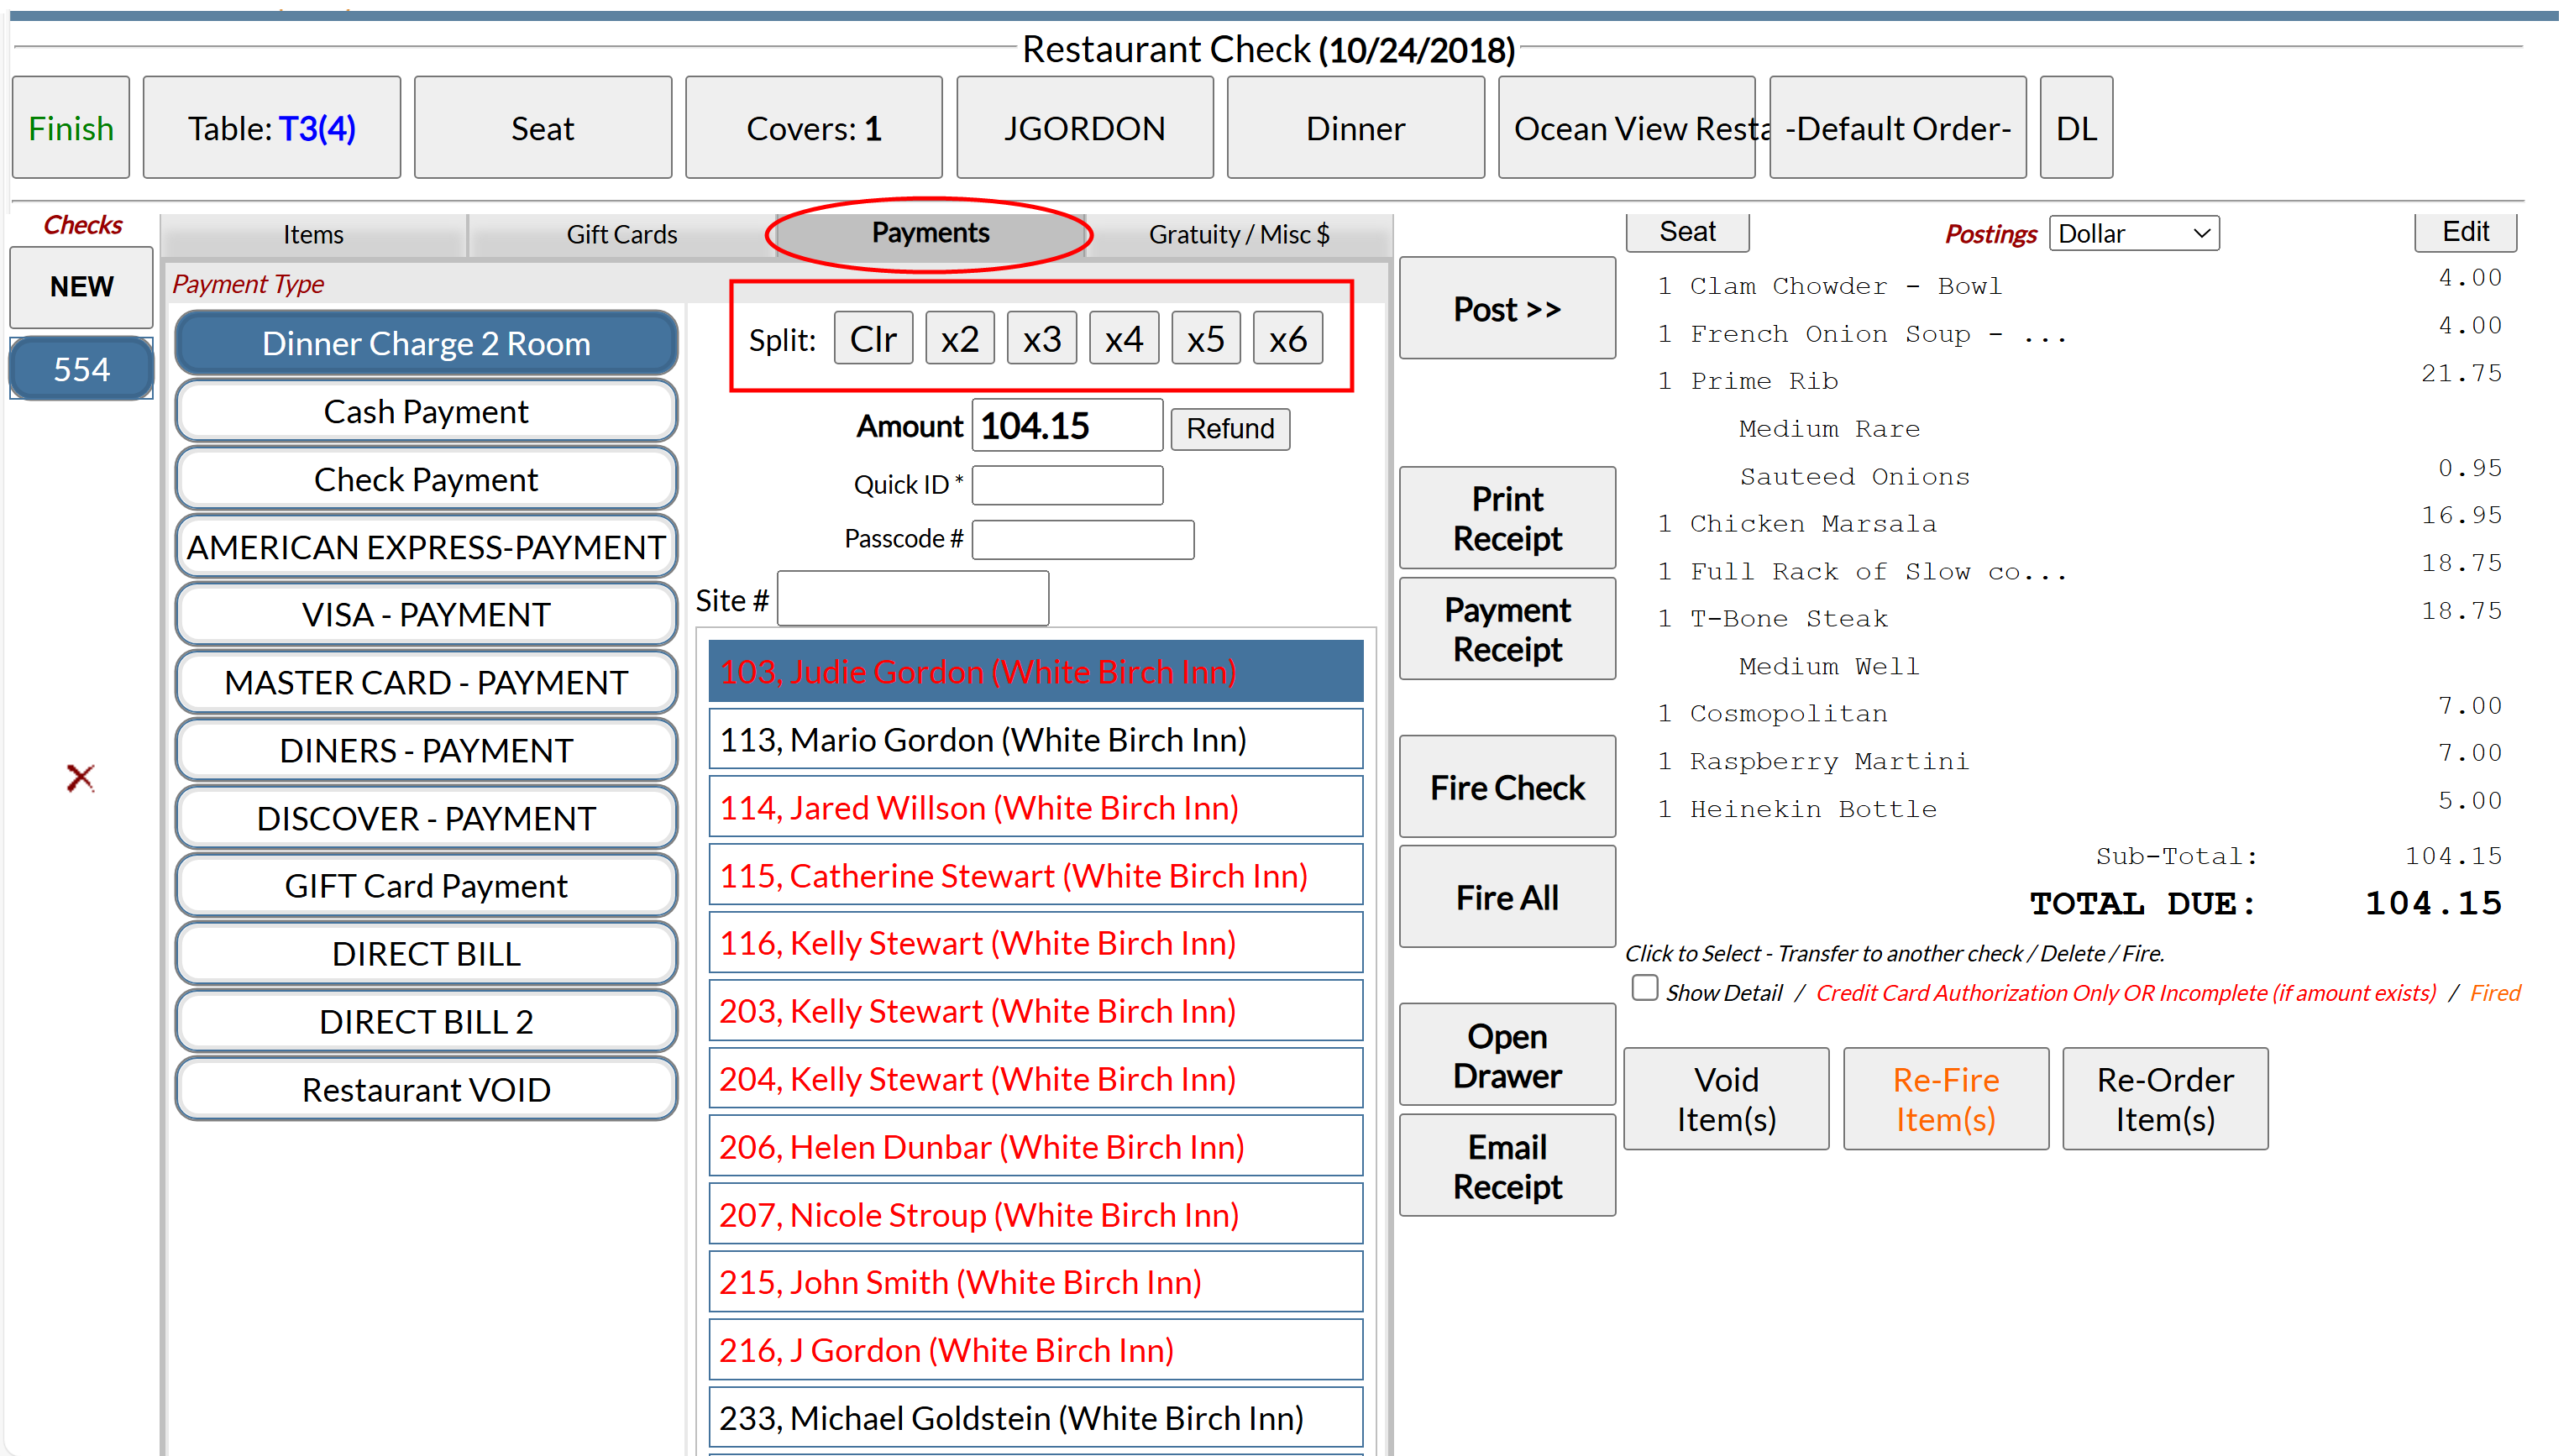
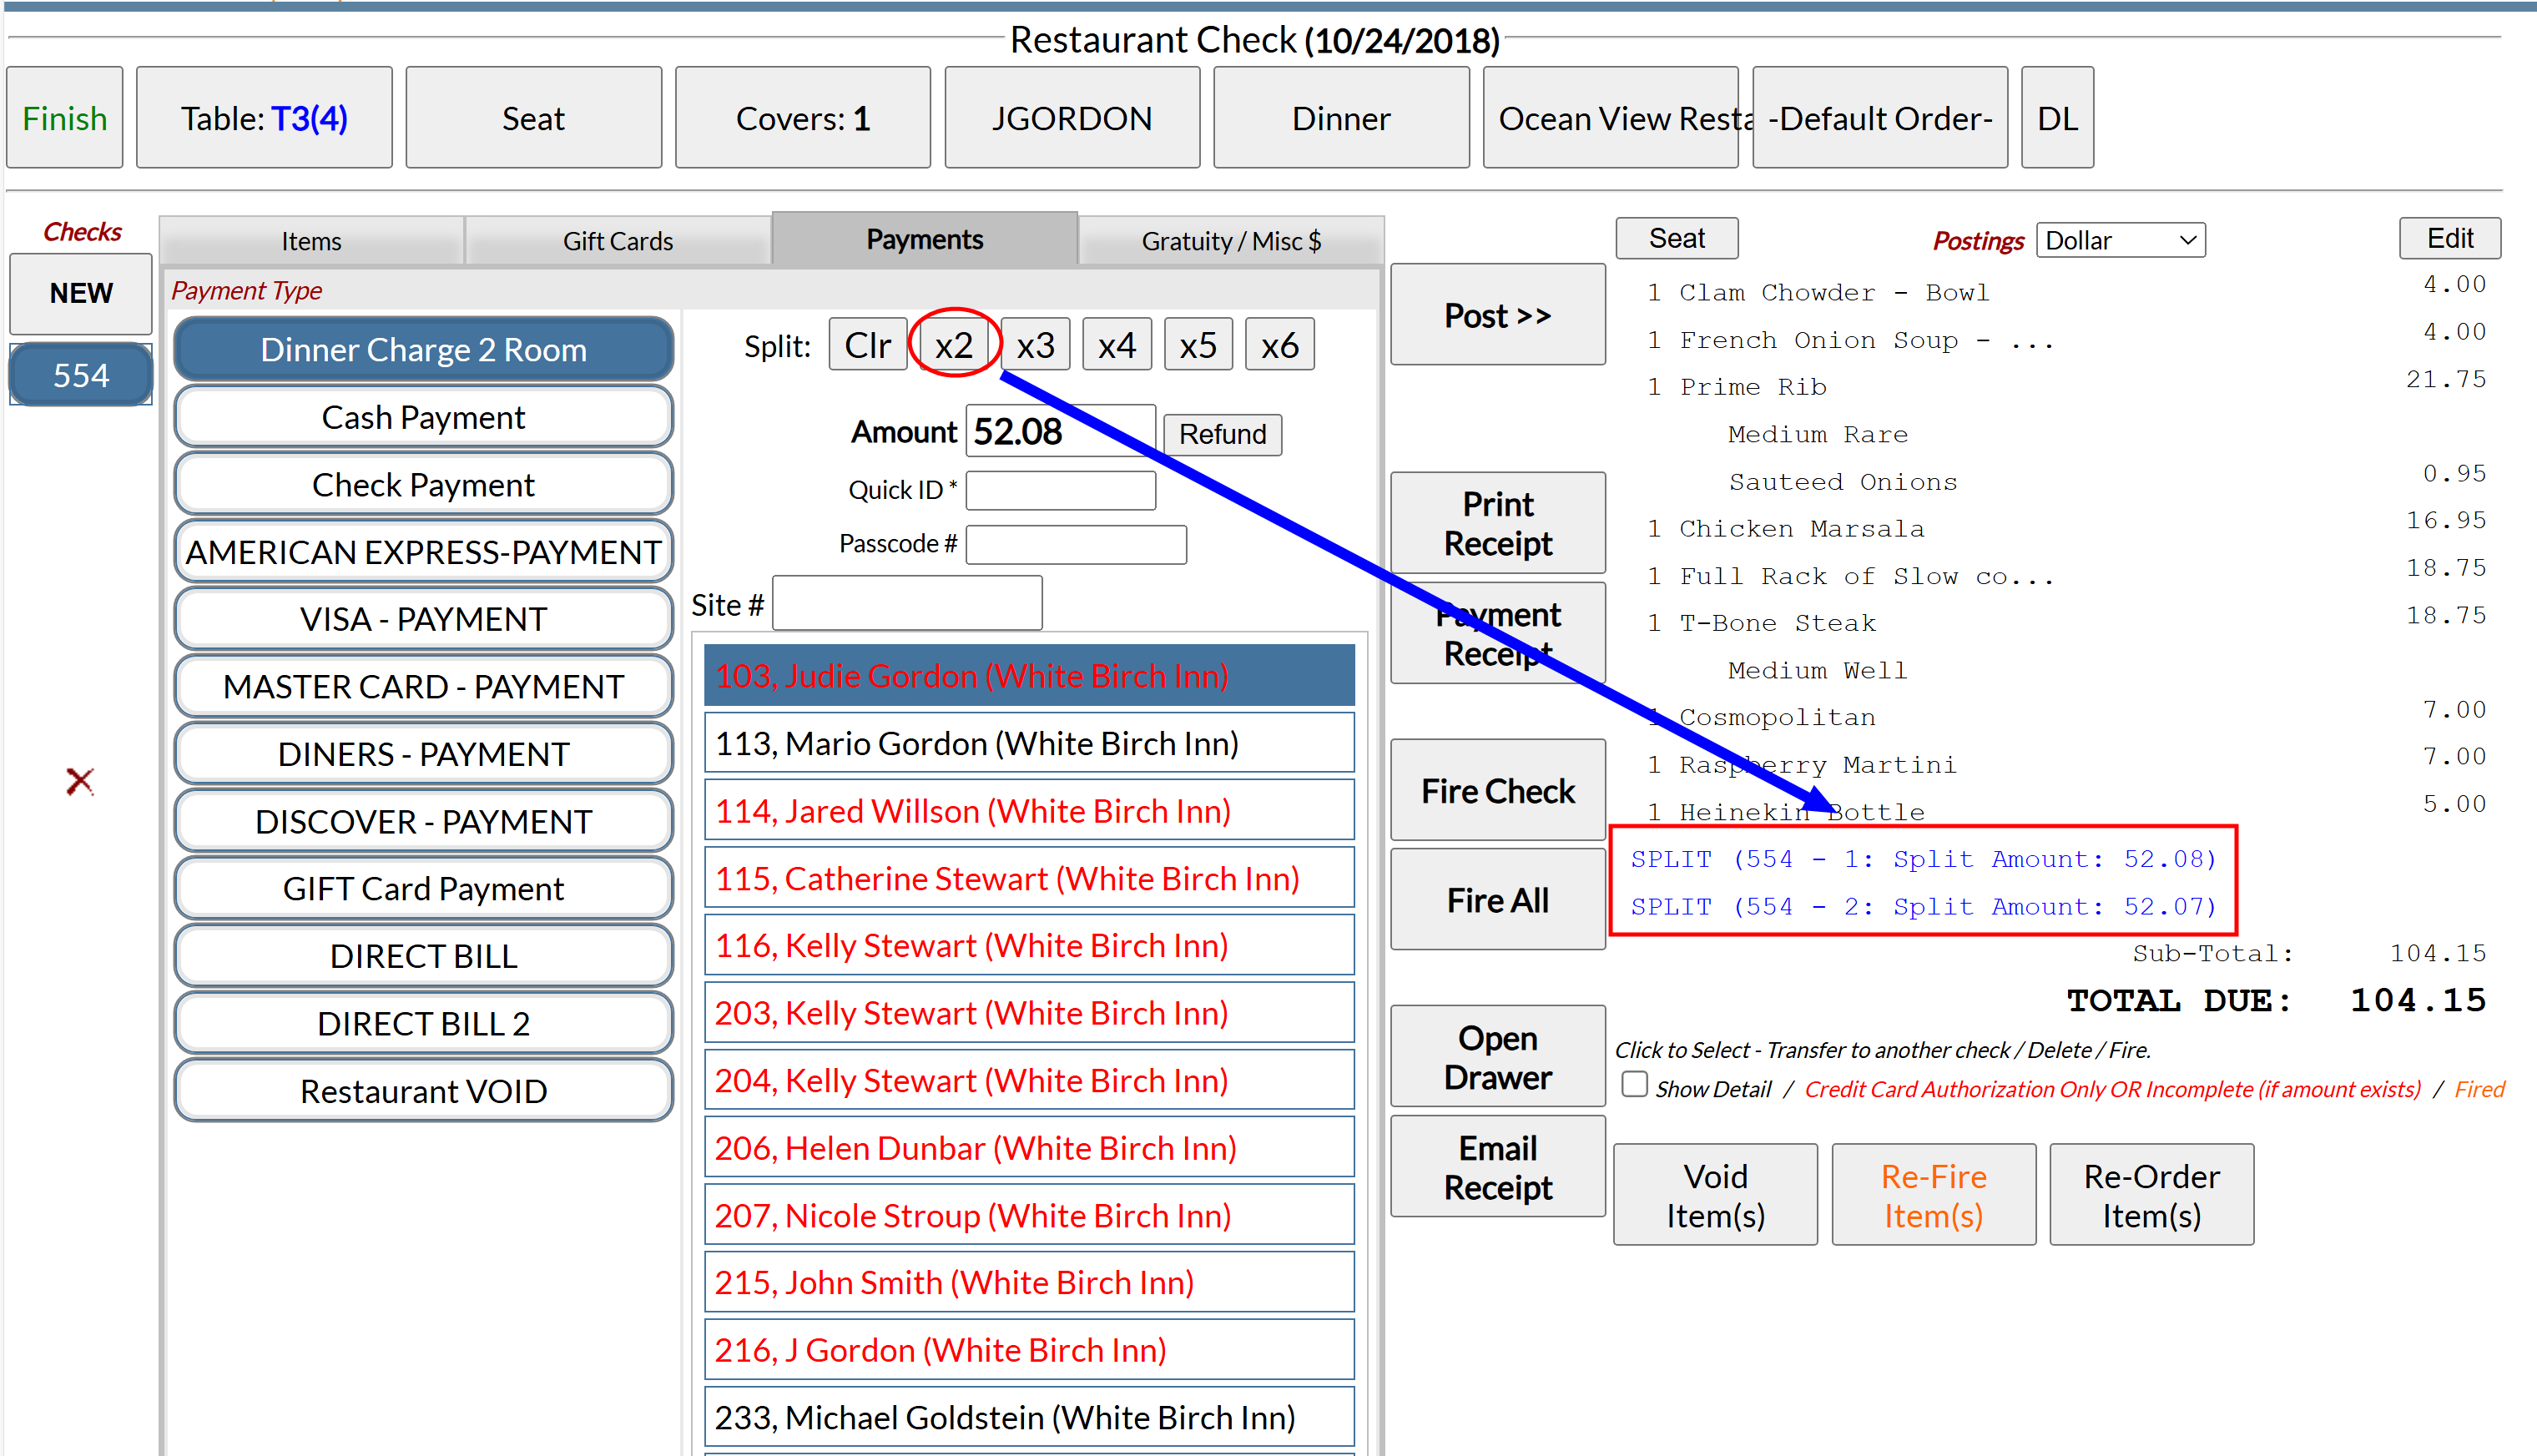
Open a new check for each guest as you take their order. The new check is a separate open check and is treated as such during payment. See Applying Payments to an Open Check or How To Take a Payment in your Point of Sale (POS).
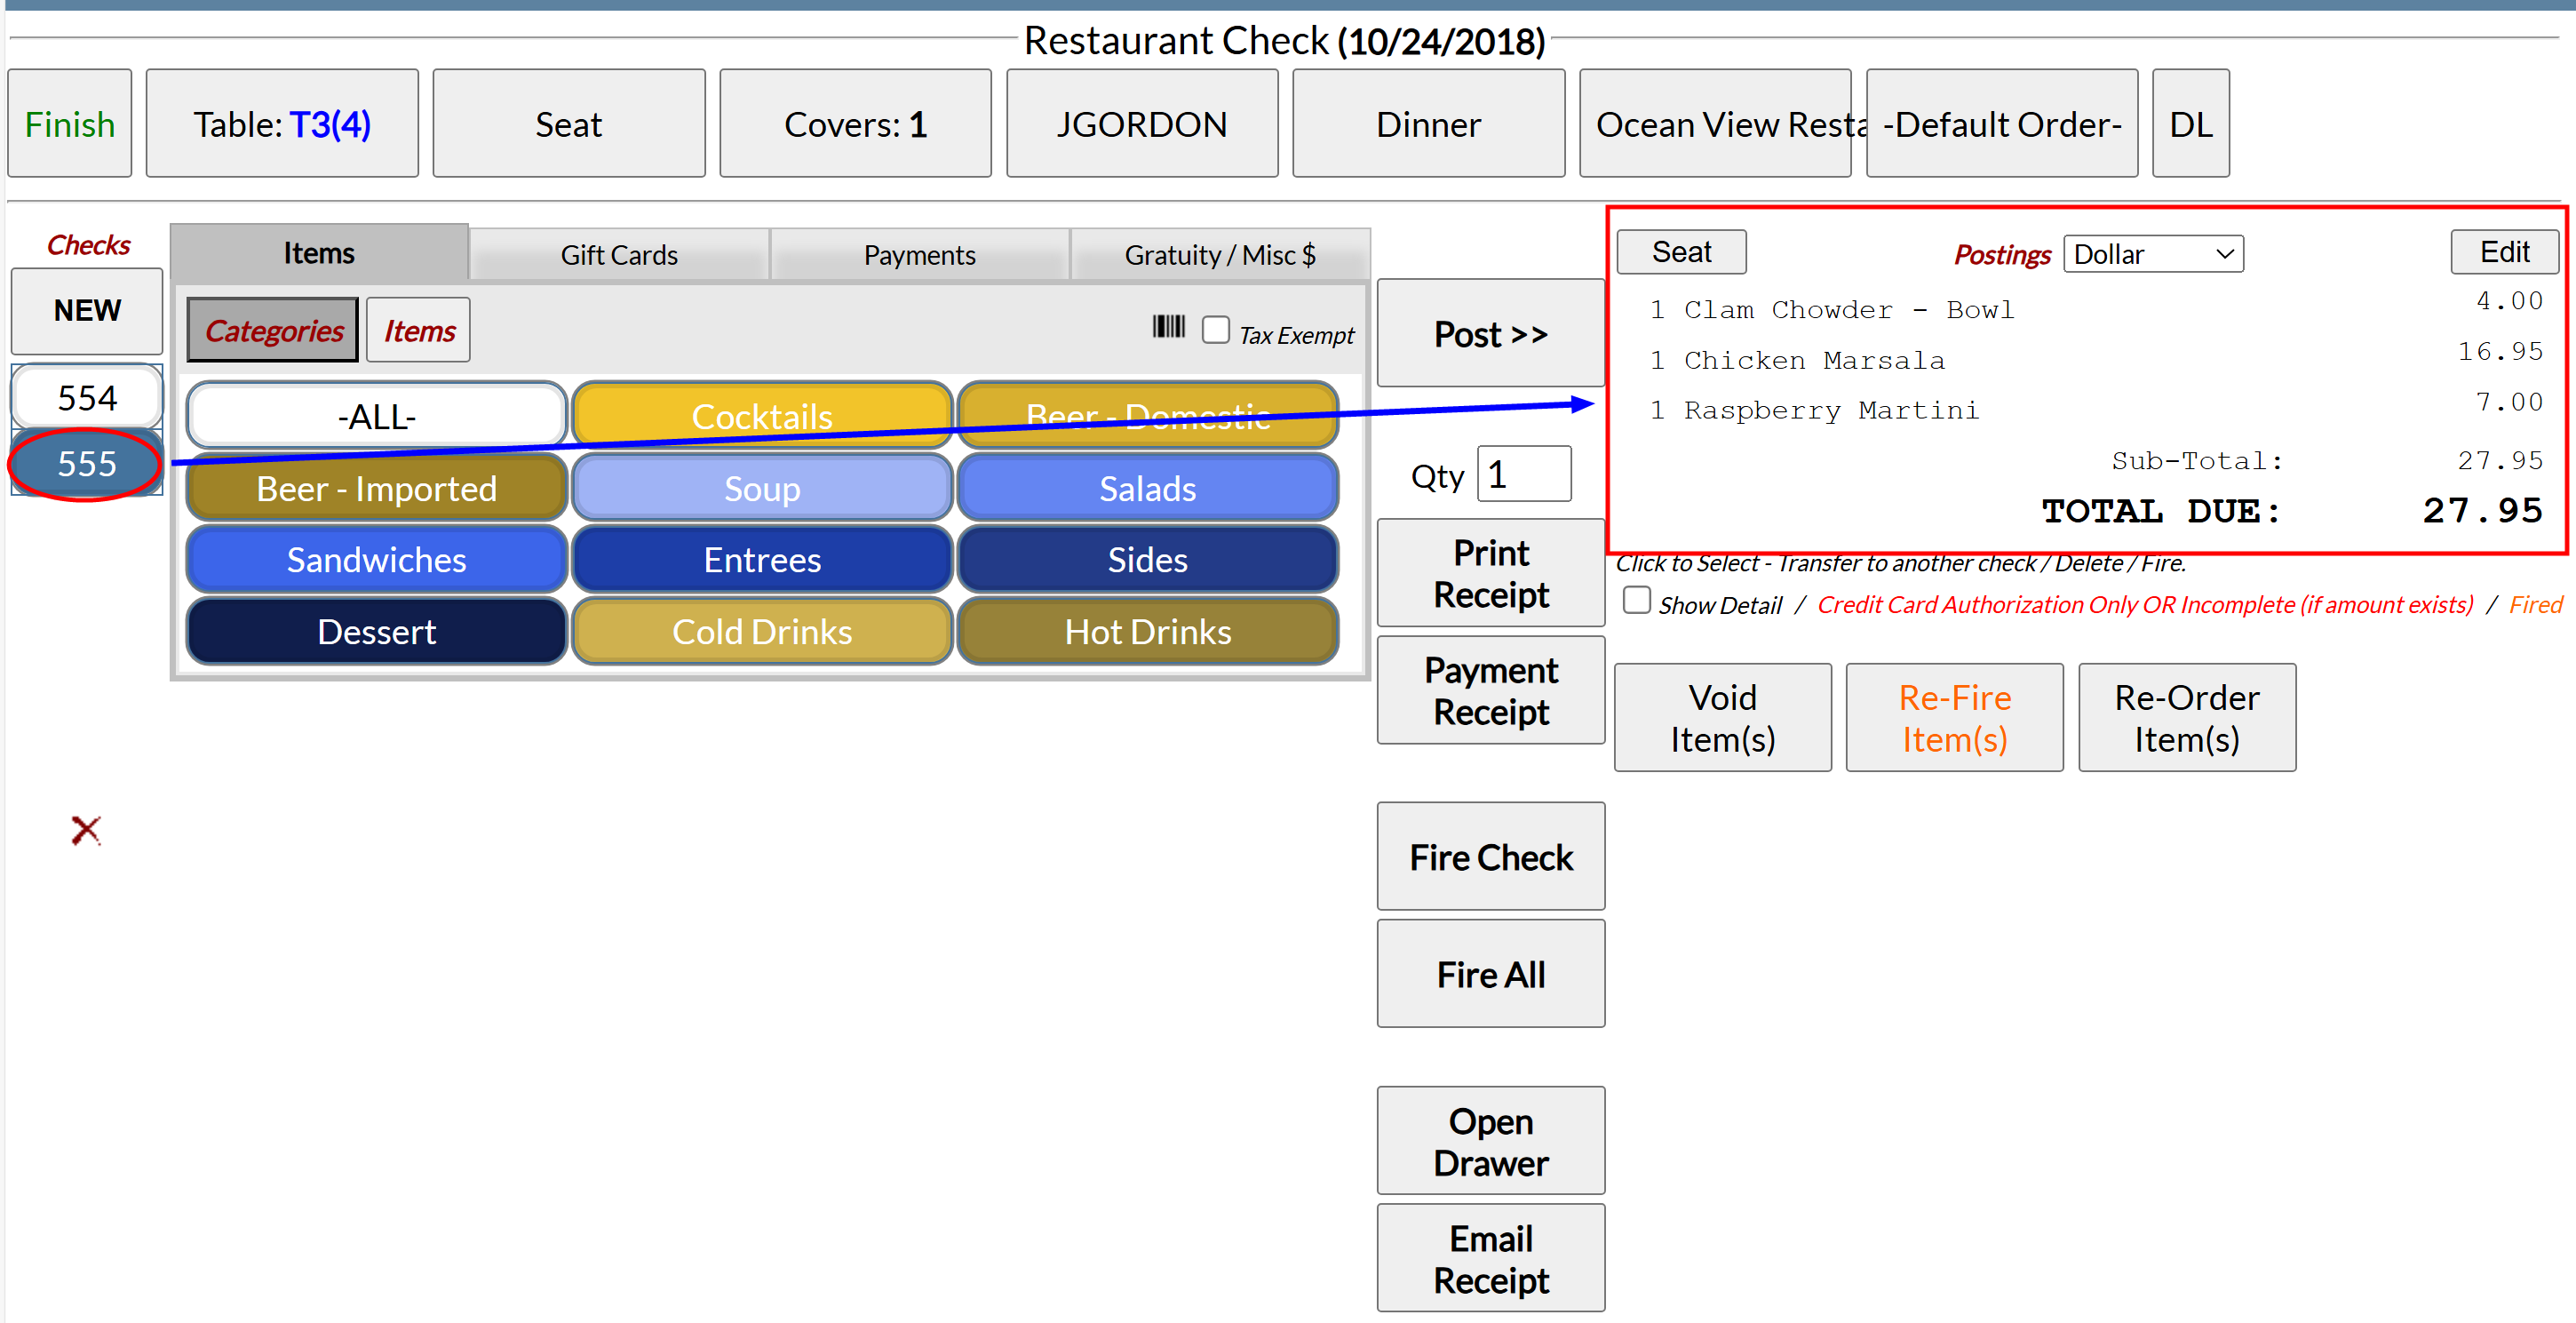
Under Checks (left hand side of Restaurant Check screen) click the NEW button.
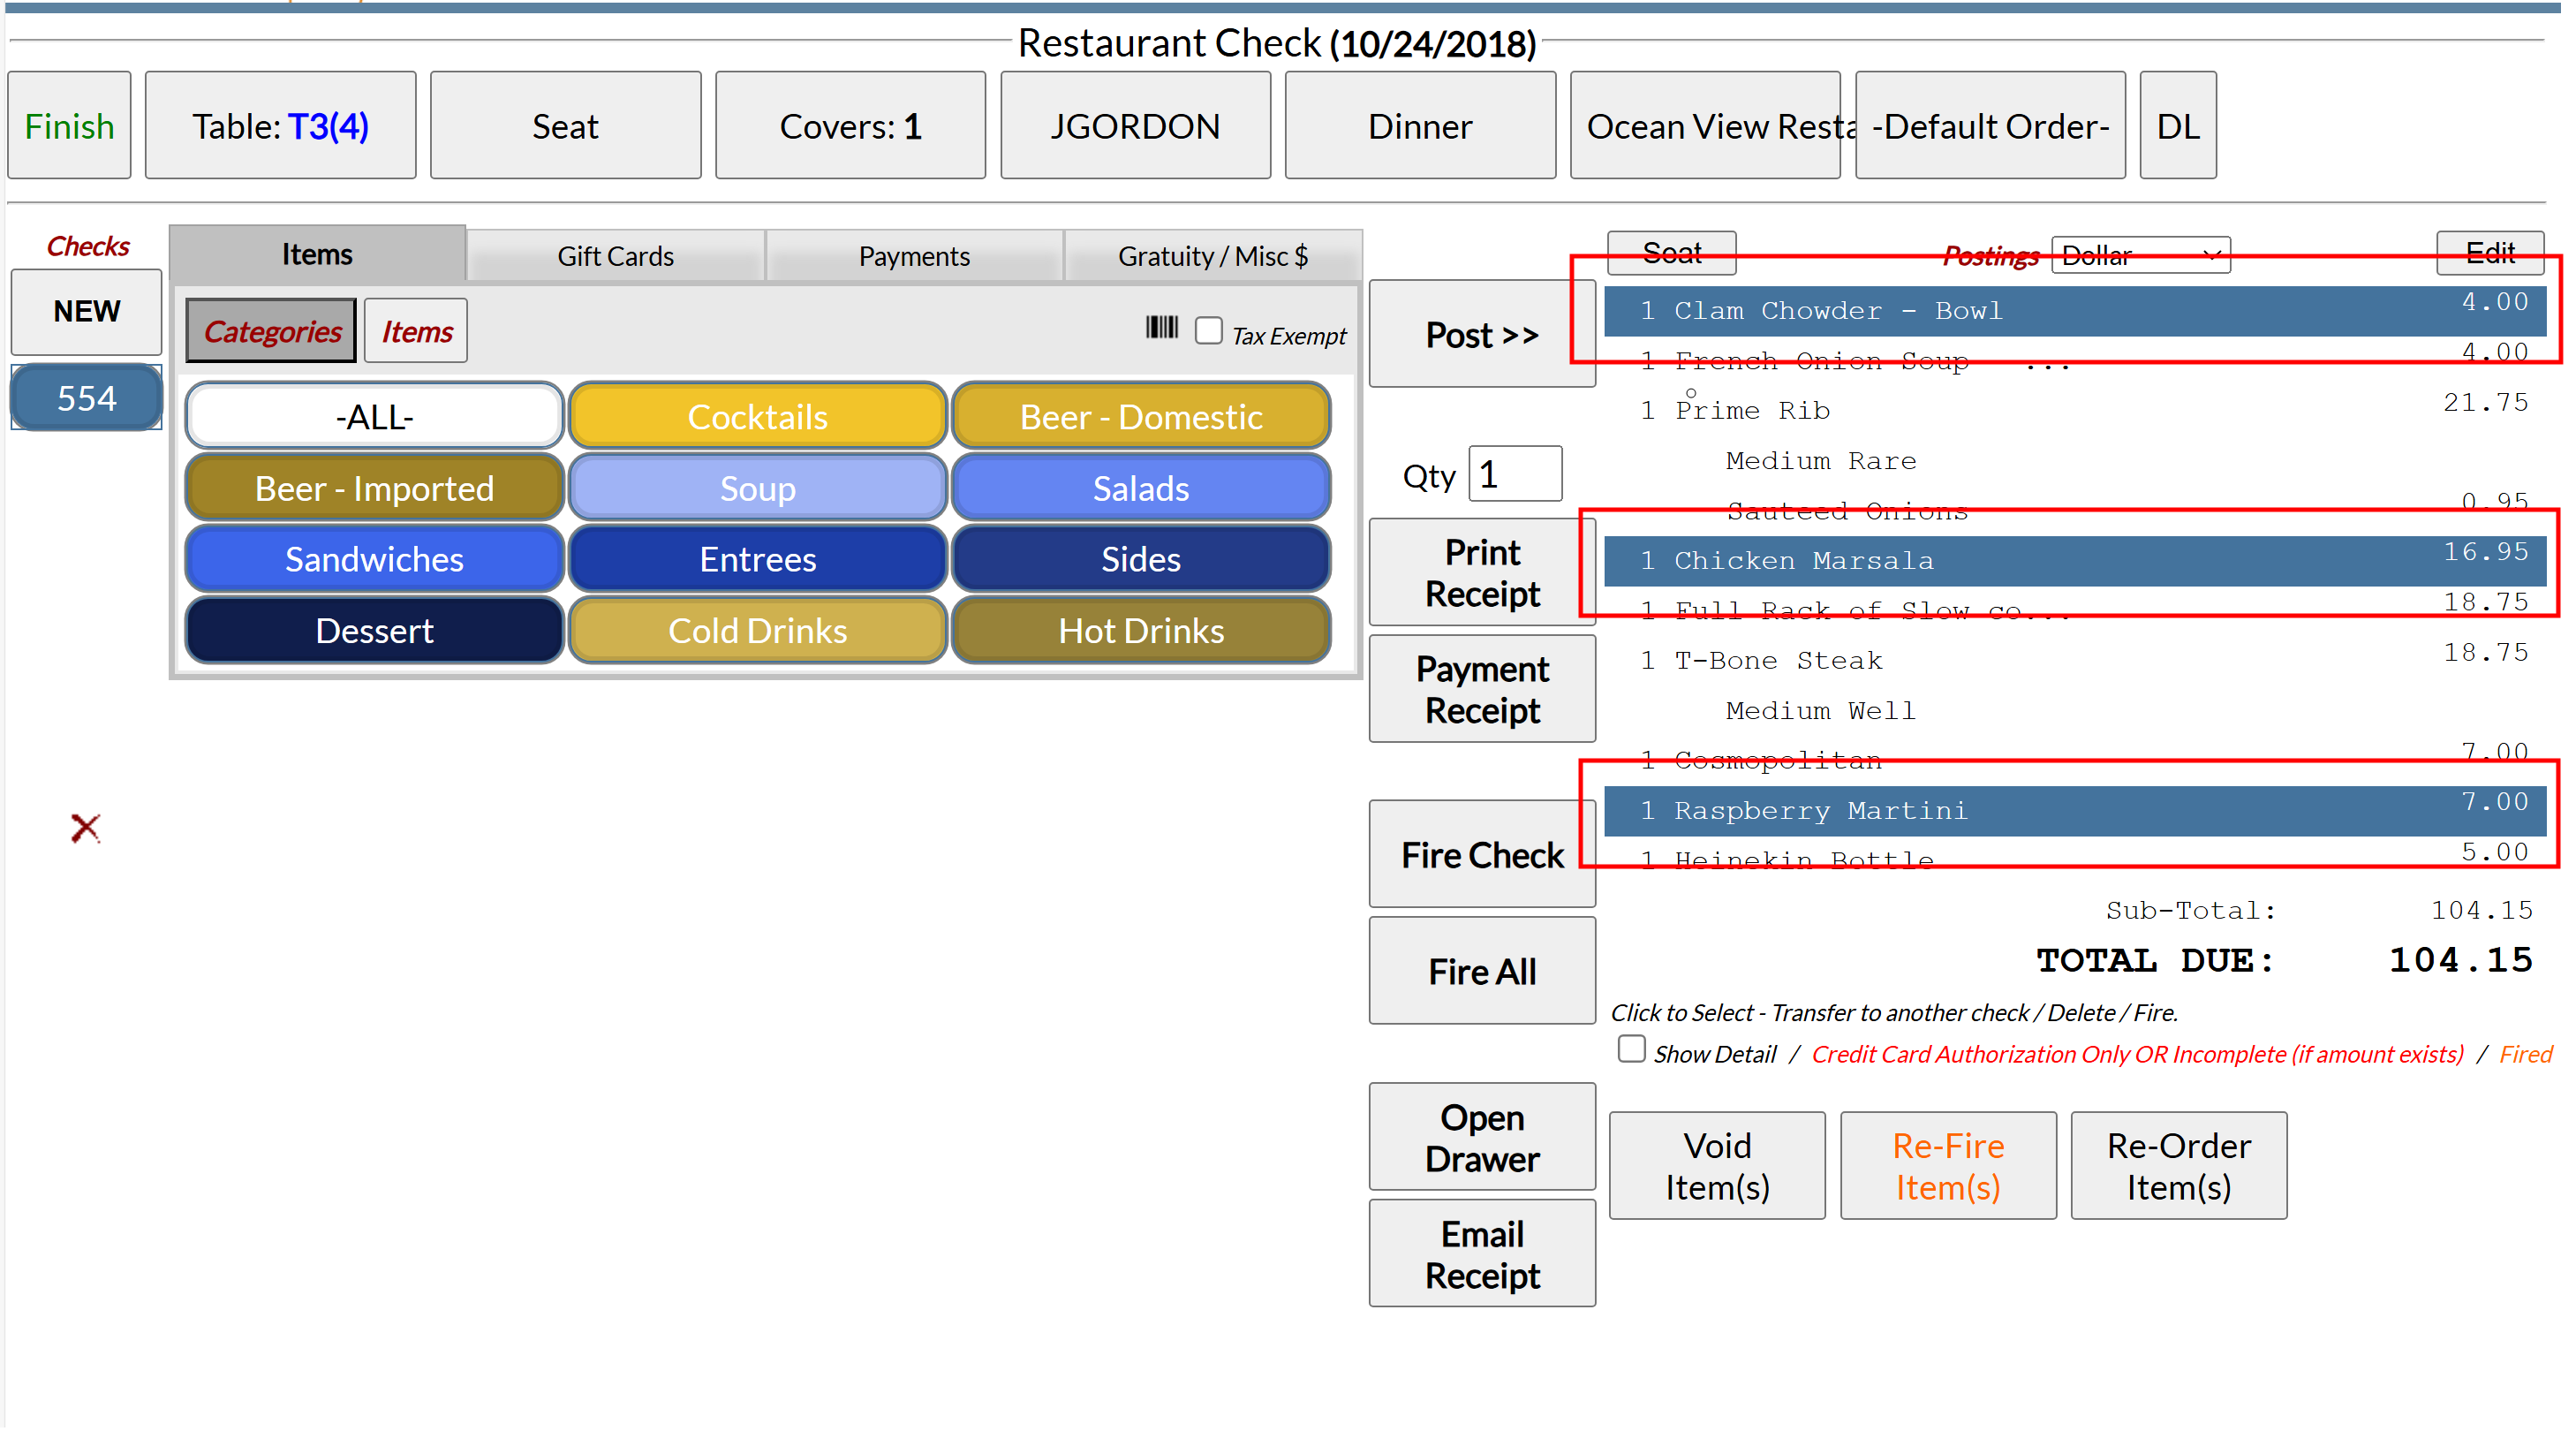
This will generate a new check with a check number displayed below the NEW button. You can repeat this as many times as you need checks. Each one will be given a different number. Click between them to post items to each check - the currently picked check is displayed in blue, the others are in white.
You may click on the currently displayed check button (in blue) to open up a keypad screen, where you may change the name if you wish to label the checks in a way to remind you which goes with which seat.
Post the requested menu items to the individual check for each guest.
This method creates a separate check for each guest and each check is treated as such during payment.
Often, you may not have been informed that the guests wish to split the check until during or after service. This may involve the guest wishing to pay individually for the items they ordered, OR to split the bill evenly between a specified number of guests.
If the guests wish to pay individually, you will need to generate new checks for each additional guest and transfer the menu items ordered using the Restaurant Check screen.
Note: Again, the new checks generated are SEPARATE open checks and are treated as such during payment. See Applying Payments to an Open Check or How To Take a Payment in your Point of Sale (POS).
Select the items to be transferred:
If you have placed the orders on the check by individual cover: Click on the first item already posted (right hand side) on the current check that will go on the (new) individual check. You only need to click on the first line and all lines associated with this cover should also be highlighted for transfer.
OR
If you have entered all items as one cover: Click on all the items already posted (right hand side) on the current check that will go on the (new) individual check. Repeat as needed to select more items.
Selected items will be highlighted in blue in the Postings section.
On the left hand side of the screen (under Checks) click the NEW button to generate a new check to transfer the highlighted line items to.
This will automatically remove all the selected items from the open check and place them on the new check.
Note: If there is a check already open that you wish to transfer items to, simply click on the check to perform the transfer.
Now you will treat this new check as any other check and select the payment method and apply the payment as usual.
To split the check evenly at the end of service is a straightforward process, and does NOT result in separate checks.
On the restaurant Check screen, in the Payments tab field, there are buttons across the top of the payment area for splitting the check.
The Split buttons allow you to select the number of splits the check should be divided into (from 2 to 6) simply by clicking the corresponding button (x2, x3 etc).
When a split is selected, the check will be divided evenly (to the nearest penny) between the selected number of splits.
Each split is shown in the Posting section labeled separately, with the separate splits able to be clicked on for viewing in the payment field. The payment amount due for each split has been calculated for you, with the amount due for the first split displayed in the Amount field of the Payments tab.
Note: A split does not generate a new check, however each split is labeled as a subdivision of the original check, with a suffix attached referring to each split individually (for example, if check 554 is split between 2, the postings area of the screen would show the two splits labeled as 554 - 1 and 554 - 2 respectively). This enables you to click on each split individually, treating them as separate checks for viewing and payment purposes.
Select the split you want by clicking on it and the amount associated with the split will be entered into the amount field. Select the payment method and pay as usual.
Once the split has been paid, the relevant split line on the postings area will be replaced by the payment for that split.
Note: After payment has been entered for a split, that particular split line entry will no longer be click-able.
Continue selecting splits for payment until all splits have been paid.
See also How To Take a Payment in your Point of Sale (POS)
The Payments tab in the Restaurant Check screen has several Payment Type options and allows you to apply customer payments to the open check.
Select the Payment Type of the first payment. The selected option type will be highlighted blue.
Recommended Practice:Apply credit card, gift card or room charge payments before applying cash payments.
Each Payment Type option changes the appearance of the rest of the Payments tab to display the pertinent fields, but for all, the Amount field remains. Complete the fields shown on the Payment tab for the selected payment type and enter into the Amount field the amount to be paid using the first payment type.
Note: Although there may be a field in this tab for gratuity, the gratuity field on the payment screen is only used with credit card payments. In all other cases the Gratuity/Misc $ tab should be used. See Applying Discounts or Gratuities to an Open Check.
When the Amount field is clicked, a numerical keyboard will display in place of the Posting list that can be used to enter the desired amount, or it can be typed directly from the keyboard.
Note: For a Cash Payment, the numerical keyboard will display in place of the Posting list automatically as the Tendered field is the default field in use (entering an amount into the tendered field will calculate for you the Change Due after paying the amount, if more is tendered than is necessary to reduce the check to a zero balance).
Click Post to apply the payment to the check.
NOTE: You must click Post to apply EACH payment type to the check. This is particularly important if the payment is split between credit and cash or between immediate payment and charge to the room.
Repeat these steps until the check is at a zero balance and can be closed.
Date Updated August 19, 2024